The IP address is the sequence of numbers following "inet", so in my case it is "192.168.1.104". You'll need this information if you want to access your Raspberry Pi from another computer on your network. However please note that this IP address may not always be the same each time you connect your Raspberry Pi to a network.
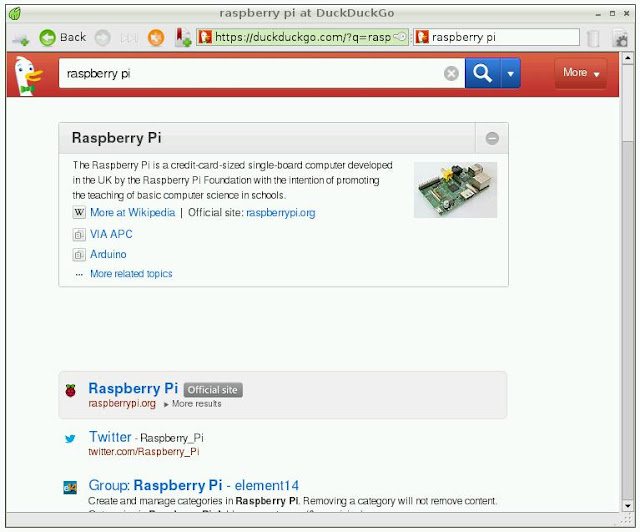
Double click on the "Midori" icon on your desktop. This will open up a web browser window and in a few moments the Midori FAQ page will load. To check that you are actually connected to the network (and assuming the network has access to the internet) click on the text box on the top right of the screen containing the words "Duck Duck Go" and type (for example) "Raspberry Pi" and press Enter. You should receive a list of search engine results (provided by the Duck Duck Go search engine) for the Raspberry Pi.
Welcome to the World Wide Web, Raspberry Pi style! You may have another web browser available to you - have a look under the "Internet" section of the "Start Menu" on the LXDE GUI desktop. I found the web browser "NetSurf" to be more stable and easier to use than "Midori".


No comments:
Post a Comment